
Have you ever cleaned your suede shoes only to find they still look a bit dull, matted, or not quite as vibrant as they once were? It's a common frustration, as cleaning often restores cleanliness but doesn't always bring back that "new" look.
To make suede shoes look new after cleaning, the crucial step is to restore their nap and protect them. After ensuring the shoes are completely dry, use a specialized suede brush to gently brush the fibers back into an even, upright pattern across the entire shoe, working in one consistent direction. For any remaining stubborn scuffs or flattened areas, a suede eraser can be used before the final brushing. Complete the process by applying a high-quality suede protector spray to guard against future stains and maintain the revitalized appearance.
 Step-by-Step Guide to Restore Suede
Are your suede shoes clean but still lacking that fresh, even texture and vibrant color they had when new? Restoring suede isn't just about removing dirt; it's about reviving its unique, delicate surface.
To restore suede and make it look new, start by ensuring the shoes are completely dry from any cleaning. Use a dedicated suede brush, beginning with the stiffer bristles (if available) to gently brush against the nap in matted or flattened areas, lifting the fibers. Then, use the softer bristles (or crepe side) to brush the entire shoe in one consistent direction to smooth and even out the nap. For any deeper scuffs, a suede eraser can be used prior to final brushing. Conclude by applying a quality suede protector spray for future defense.
Step-by-Step Guide to Restore Suede
Are your suede shoes clean but still lacking that fresh, even texture and vibrant color they had when new? Restoring suede isn't just about removing dirt; it's about reviving its unique, delicate surface.
To restore suede and make it look new, start by ensuring the shoes are completely dry from any cleaning. Use a dedicated suede brush, beginning with the stiffer bristles (if available) to gently brush against the nap in matted or flattened areas, lifting the fibers. Then, use the softer bristles (or crepe side) to brush the entire shoe in one consistent direction to smooth and even out the nap. For any deeper scuffs, a suede eraser can be used prior to final brushing. Conclude by applying a quality suede protector spray for future defense.
 In my two decades at Lucas, I've seen countless shoes pass through our development and production. I’ve learned that the true beauty of suede often lies in its nap, and understanding how to properly revive it after a cleaning isn't just a skill—it's an art.
The Revival Process: Bringing Suede Back to Life
Cleaning removes the grime, but restoring is about bringing back the "velvet" to the suede.
- 1. Ensure Complete Dryness (The Foundation):
- Why it's crucial: Any residual moisture, even minor dampness, will interfere with the nap restoration process. Attempting to brush damp suede will flatten the fibers and potentially create water marks or permanent damage.
- How to ensure it: After any cleaning involving moisture (like using a damp cloth or water for water stains), allow the shoes to air dry completely for at least 24-48 hours. Place them in a well-ventilated area away from direct heat or sunlight, and stuff them with crumpled newspaper or shoe trees to maintain their shape and absorb internal moisture.
- My Tip: I always advise patience here. Rushing this step is the fastest way to undo all your cleaning efforts.
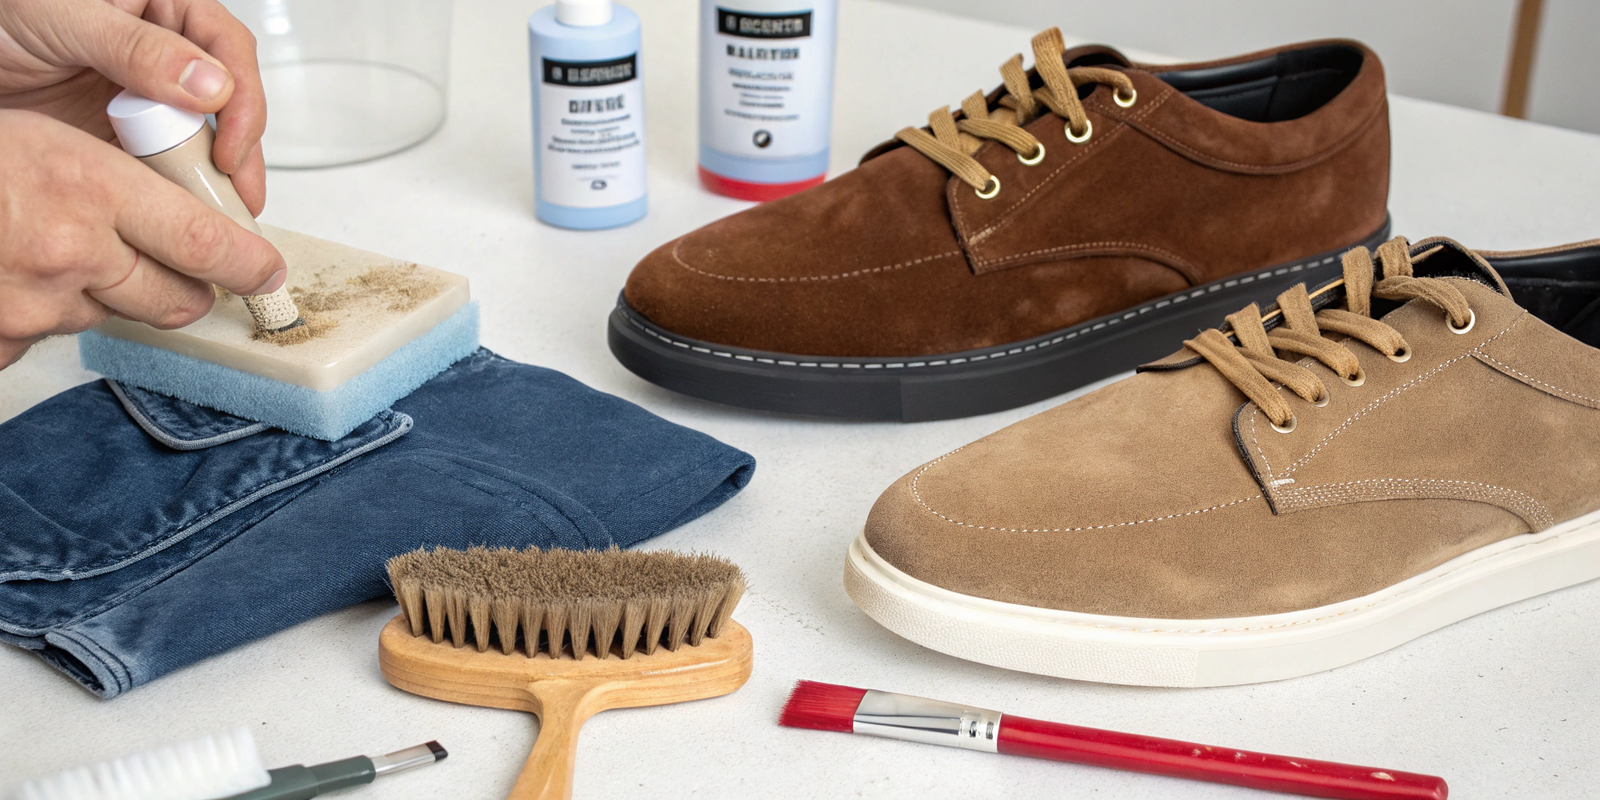
- 2. The Initial "Rough Up" (Nap Lifting):
- Purpose: To lift any flattened, matted, or compacted fibers and prepare them for re-alignment. This is like fluffing up a rug.
- How: Use the stiffer side of your suede brush (often the brass bristles or the more abrasive rubber side). With short, firm strokes, gently brush against the nap in areas that are particularly flat, matted, or discolored. You should see the fibers start to stand up.
- Technique: Apply moderate pressure, but be careful not to abrade the suede too aggressively. You're trying to separate and lift the individual fibers.
- My Insight: This step is key for areas that see a lot of friction, like the toe box or heels, where the nap tends to get pressed down.
- 3. Tackle Blemishes (Eraser Power):
- Purpose: For any remaining scuff marks, dark spots (that aren't completely removed), or areas where dirt is still embedded.
- How: Take your suede eraser. Gently rub it over the specific blemish with a back-and-forth or circular motion, using light to moderate pressure. The eraser gently abrades the top layer of the suede, lifting stains and smoothing out minor imperfections.
- Technique: Follow up with a gentle brush (using the softer side) to remove any eraser residue and re-fluff the nap in that area.
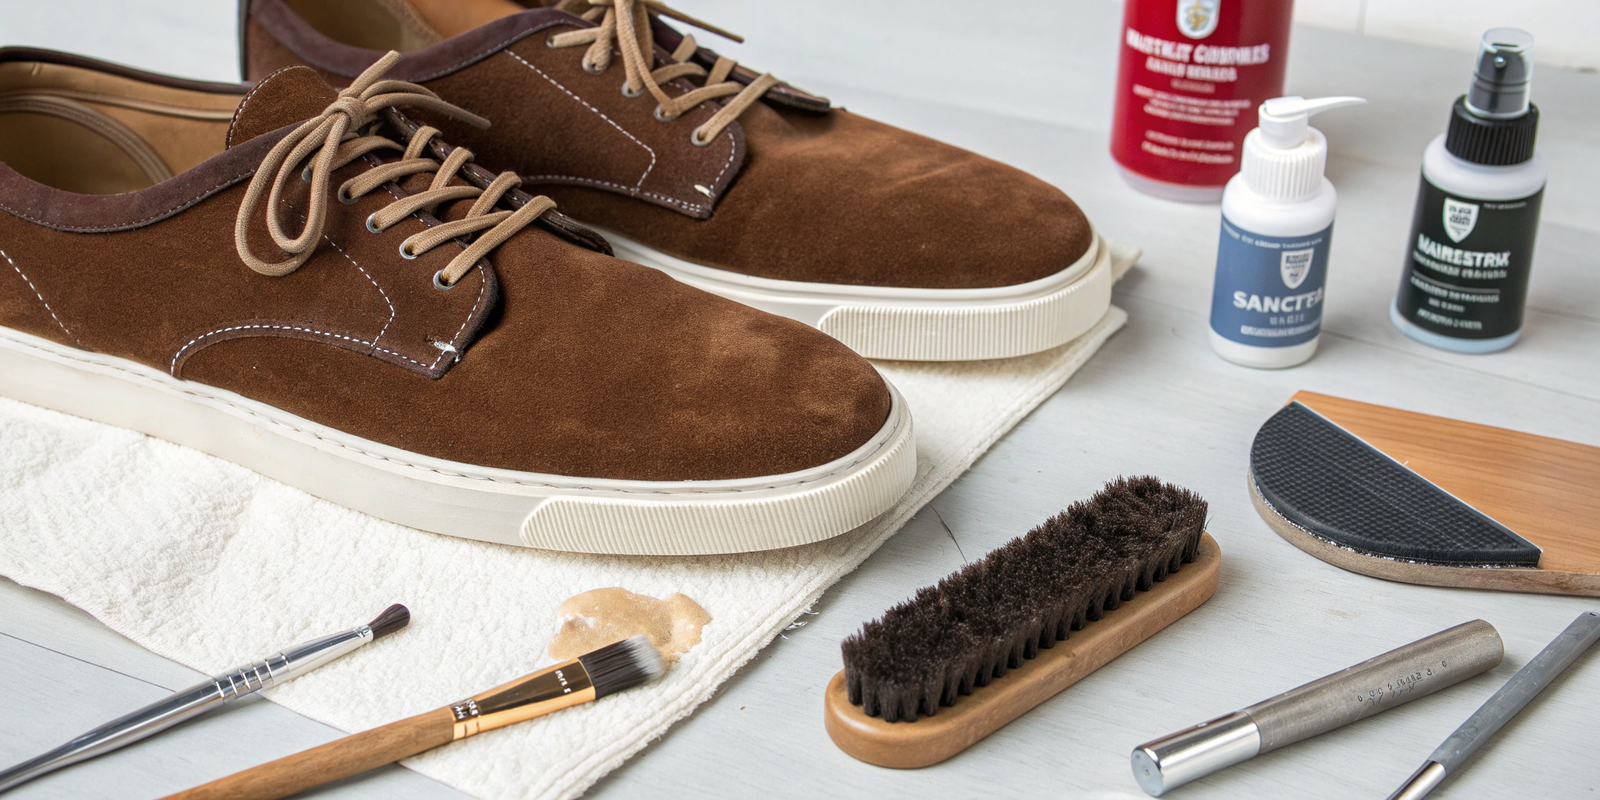
- 4. The Final "Polish" (Nap Alignment):
- Purpose: To create a uniform, smooth, and velvety appearance across the entire shoe, making it look consistent and "new."
- How: Switch to the softer side of your suede brush (nylon bristles or crepe side). Gently brush the entire shoe in one consistent direction. Choose the direction that makes the nap lie smoothly and evenly (often from the back of the shoe towards the toe, or top to bottom).
- Technique: Use light, even strokes. This step is about refining the texture and giving the suede a polished, fresh look.
- My Experience: This is where you see the magic happen. The shoe truly transforms, regaining its original luster and feel.
- 5. The Essential Barrier (Protection):
- Purpose: To guard your newly restored suede against future water damage, stains, and dirt, extending the "new" look.
- How: Once the suede is perfectly dry and the nap is restored, apply a good quality suede and nubuck protector spray. Do this in a well-ventilated area, holding the can the recommended distance from the shoe (usually 6-8 inches). Apply in light, even coats, not soaking the material.
- Technique: Allow the first coat to dry for the recommended time (check product instructions), then apply a second light coat for maximum protection. Always allow the shoes to dry completely before wearing them.
- My Advice: This isn't just an optional step; it's a critical investment in maintaining the beauty and longevity of your suede shoes. At Lucas, we strongly recommend it for all our suede products.
By following these steps, you're not just cleaning your suede shoes; you're actively restoring their visual and tactile appeal, making them look as exquisite as they did on day one.
| Restoration Step | Purpose | Tool(s) Used | Key Action / Technique | Outcome / Result | Important Note |
|---|---|---|---|---|---|
| 1. Ensure Complete Dryness | Prevent damage during brushing, prepare fibers. | Shoe trees or crumpled newspaper. | Air dry for 24-48 hours, away from heat/sun. Maintain shape. | Shoes are completely moisture-free. | Crucial foundation; rushing this step causes irreversible damage. |
| 2. Initial Nap Lifting | Fluff up flattened, matted, or compacted fibers. | Suede brush (stiffer brass/nylon bristles). | Short, firm strokes against the nap in affected areas. | Fibers stand up, appear less matted. | Use moderate pressure, avoid aggressive scrubbing. |
| 3. Tackle Blemishes | Remove remaining scuffs, dark spots, embedded dirt. | Suede eraser (or clean white pencil eraser). | Gently rub over blemishes; follow with light brushing to remove residue. | Spots are diminished or removed. | Target specific areas; re-brush after erasing. |
| 4. Final Nap Alignment | Create uniform, smooth, velvety texture. | Suede brush (softer rubber/nylon bristles). | Brush entire shoe gently in one consistent direction. | Suede looks smooth, even, and "new." | This step gives the shoe its polished, finished look. |
| 5. Essential Protection | Guard against future water damage, stains, and dirt. | Suede protector spray. | Apply 2 light, even coats in a well-ventilated area; allow to dry between. | Enhanced durability, resistance to elements. | Reapply periodically (e.g., every 6-8 weeks, or after cleaning/heavy wear). |
Conclusion To make suede shoes look new after cleaning, ensure they are completely dry, then use a suede brush to lift and even out the nap. Address any remaining scuffs with a suede eraser, and finish by brushing the entire shoe in one direction for a uniform texture. Crucially, apply a quality suede protector spray to maintain their revitalized appearance and guard against future damage.